How to Set Up Your Account in Tryoup.io
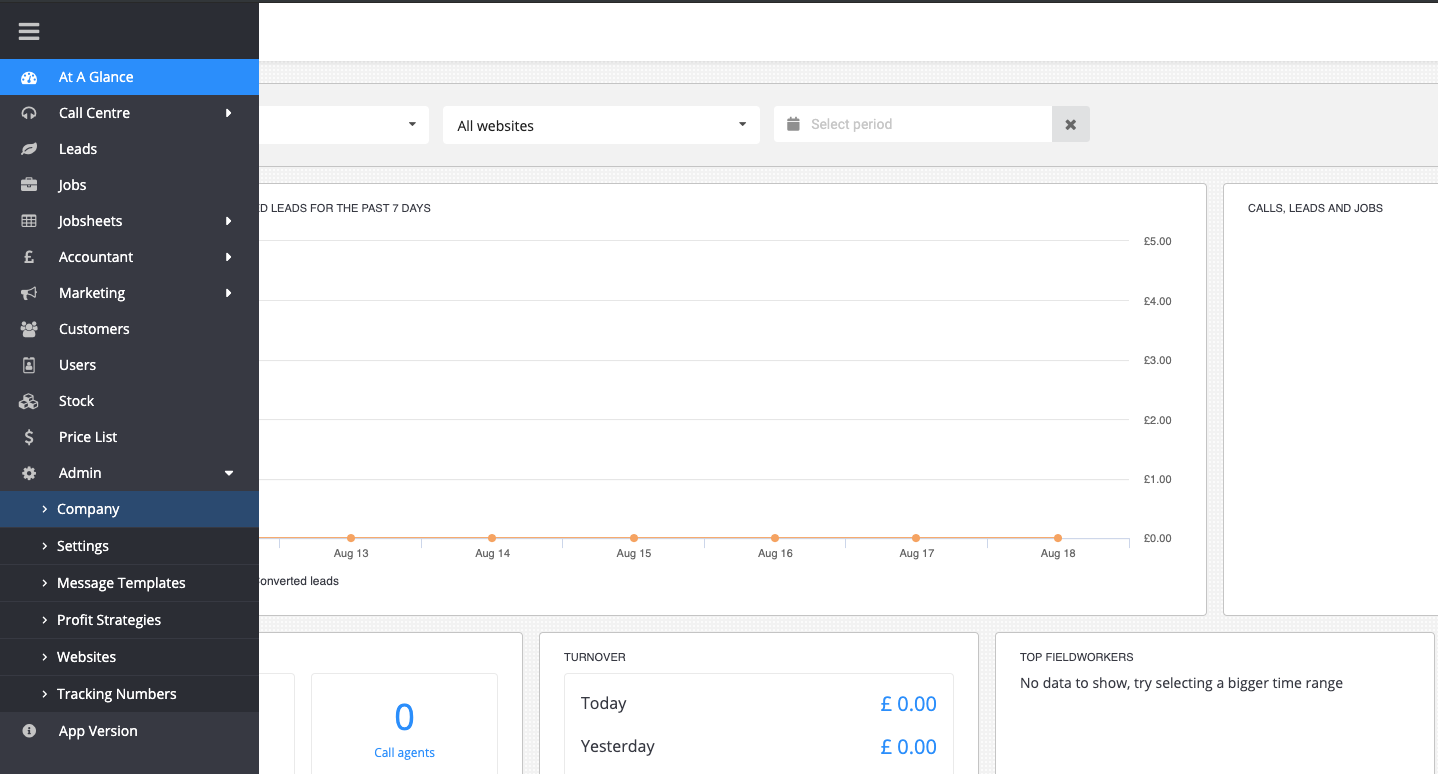
We are Tryoup and we help you understand your business better! Now, you have signed in and we are ready for the next step - setup your Account to start using Tryoup. First of all we are going to create your Company, then Departments and Categories in it, will see how to use message templates we have prepared for you, and will create Profit strategies for your staff. You can create several companies in our system in case you operate your business with multiple companies registered. So, let’s proceed to left side menu, choose Admin section and click on Company.
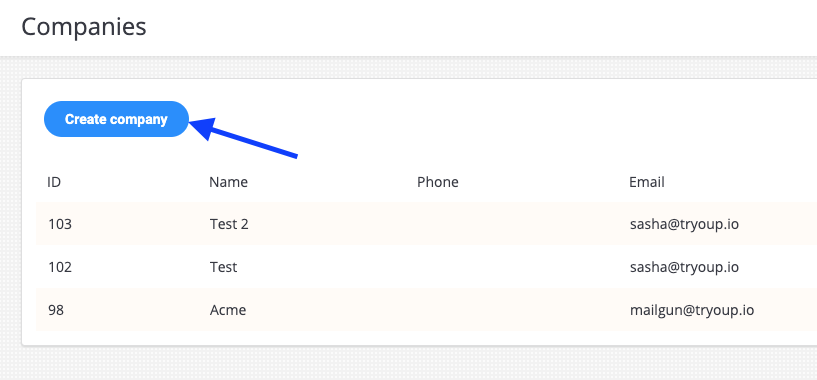
Here we click on Create Company button.
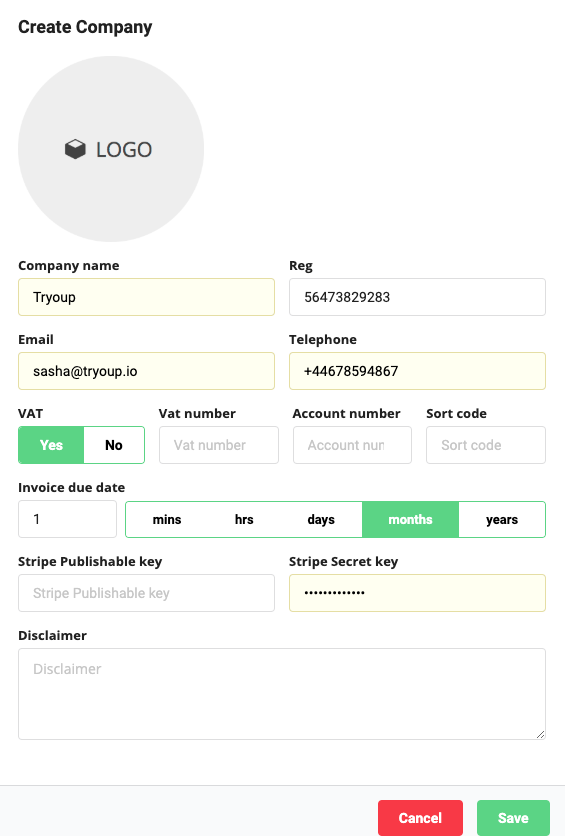
We can start by adding the Logo here, then fill in all required fields, if your Company is VAT registered, please click Yes here to apply VAT (or TAX) and fill in all required information, Invoice due date means how much time a customer has for paying his bill, you can choose any, and here is a field for Disclaimer, please check all above information as it will be shown on your invoice. If you receive payments via Stripe, you can put the API keys here. Click Save.
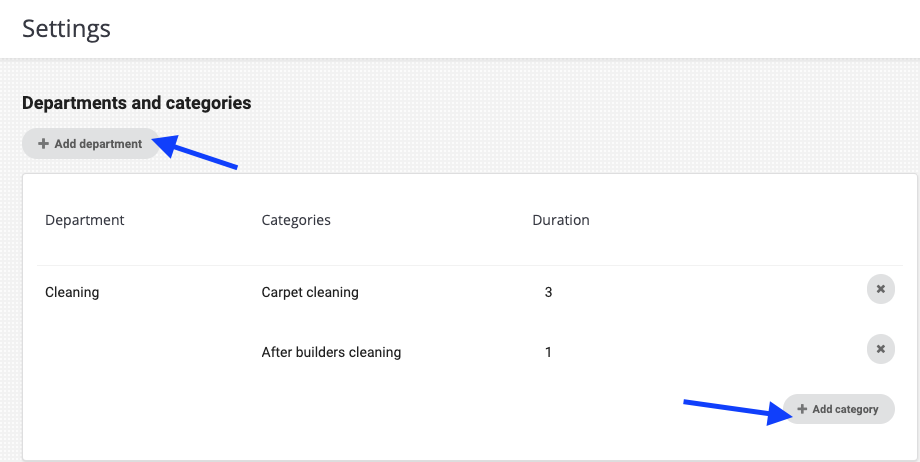
Now we see that your company has been created and once you click on it you can update any information here. Let’s move further, and create Departments and Categories for it, go to the same Admin section, but now choose Settings. Department is a kind of direction of your company, while category is a specific service within this direction. If your company is not about Space flights (set by default), you just change the Department name to Cleaning for example, and Category here would be Carpet Cleaning or After Builders Cleaning. Later you can add more categories. Duration means how much time this service would approximately take, you can change it whenever you want.
Let’s continue our journey again to Admin section, but now we choose Message templates.
These messages are used for customer notification on job update or customer notification about Fieldworker arrival and other. We have prepared default ones for you, but you can always change some parts, only the text in brackets should not be touched. Change the text you want and click Save. If you would like to roll back to the initial variant just click on Reset to default and Save it again.

Now, let’s proceed to Admin section - Profit Strategies - Create. Now we are ready to create schemes that will be assigned further to your staff and define how much profit they get depending on the Job total cost. Give it a name, for example Junior Cleaner, choose Role - fieldworker, if it is your employee you can put salary per month here, or if it’s Subcontractor click on it. Add range row - let’s say that job costs any amount from 0 to 50 for the customer, for this job you pay to your worker 15 in absolute (15 pounds), add one more row, for jobs costing from 51 to 100 we can pay, say, 30% of it to the fieldworker. If it is ok, click save changes and return to the previous page, here we can put this Scheme to be used by default and we can always update it.

Well, now you have set up the most essential parts and you are well equipped for our next journey! See you in Tryoup!